I like to make my own broth / stock, mainly because I know what goes into it. It is even better when I can do it with farm fresh meats. I will usually make a bit of different kinds of broth / stock and store them into my freezer, sealed as that way I do not have to worry if it is gluten free or not (and not get myself and my daughter sick), nor do I have to worry about anything that may be in the stock.I know that I have at least 10 cups of each on hand in my freezer, and by cooking a roast you can easily save the juices and make your own stock.
If you watch out what you put into the crockpot,you can easily use it. We used to use packets of french onion soup mix, but no longer do that. One of the main reasons we dont is that it is not gluten free, and the other is that it will give the beef broth a flavor of french onion soup, to which we do not want that in the stock.
This only needs a few ingredients to make, and the nice thing is that you control what goes into it.
Basically just need a crock pot, crock pot liner, beef roast, onion if you want and maybe either celery or some other vegetable (such as carrots).
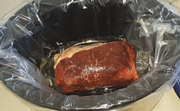
All that you need to do is take the beef roast and place it into the crock pot, add the amount of vegetables that you want to add to it (for flavoring), then cook it on low for 10 hours, then save the juices left over. Those can be bagged and sealed and placed in your freezer.

Ingredients:
- Beef Roast
- crock pot liner (optional)
- Vegetables (onions, carrots, celery, etc.. ) - optional
Directions:
- Place a crock pot liner in your crock pot
- Place the beef roast inside of your crock pot
- add any vegetables that you want to
- add 3 cups of water
- cook the beef roast on low for 8 - 10 hours.
- Once the beef roast is done, remove the roast.
- In a large bowl add a colander
- Remove the crock pot liner with the beef broth inside of it.
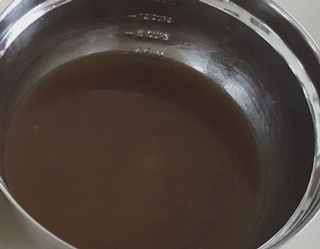
- Drain the beef broth into the colander that is inside of the bowl
- Place in your fridge overnight to allow the fat to solidify.
- Remove the fat (if you want) and then place in bags to seal.
See my video below on how this is done.
See this video on Dailymotion - http://dai.ly/x6hz2if
See this video on DTube - https://d.tube/v/jmrados/tz368luh
See this video on YouTube - https://youtu.be/4_vGP8c4k1I
